10 DSLR Tips & Tricks for Beginners
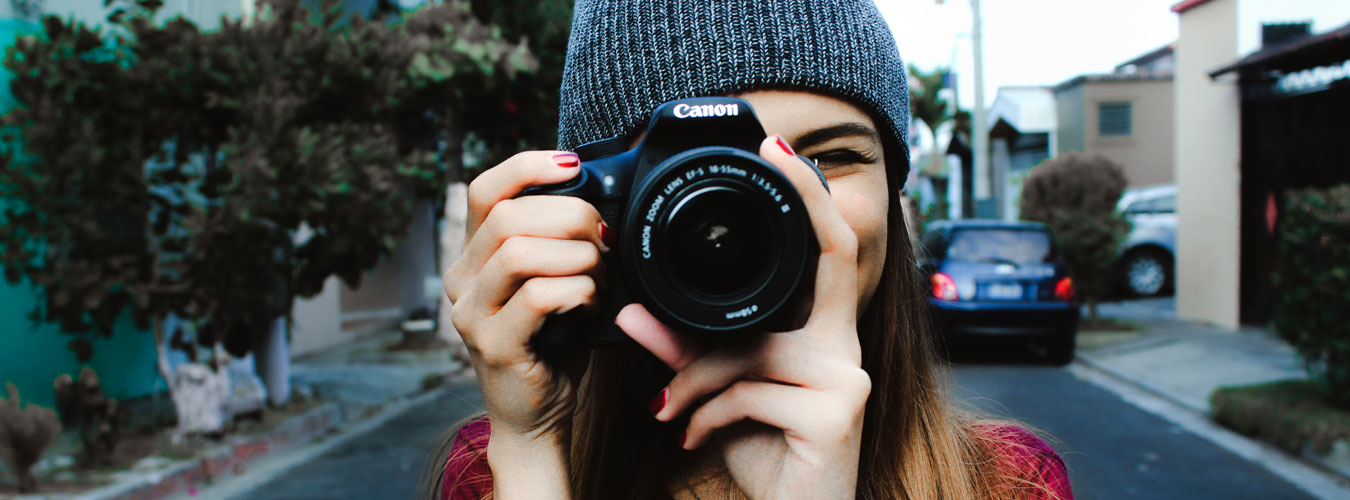
You have probably come a long way from when you first got to shoot through a DSLR. The rush of excitement and reverence may have dimmed, but the warmth of holding your own lingers on. And you got it right – the possibilities with your DSLR are endless.
You’ve landed here because you are ready to embark on the exciting adventure of photography with some serious camera skills. Whether you’re a beginner or a camera pro, understanding composition and creativity is important.
Ready to take great photos? Let’s dive right into some tips for better shooting.
1. Know your Camera Inside Out
If you want to add the “wow” factor in your pictures, you must understand how your camera works. Whether you have a top-of-the-line DSLR or not, the key to beautiful and iconic photos is your creativity skills, but for that you need to have complete knowledge of your camera settings.
Your camera is like any other tool. You must be familiar to it like an extension of your hand. If you don’t utilize your camera to the fullest, it’s going to limit your creativity.
Be it reading the manual or going through the viewfinder, do whatever it takes to gain an in-depth understanding of your camera’s features and functions. You must be familiar with all the camera settings: be it the power switch or the shutter release button.
Click on the menu to get familiar with camera settings – whether it’s aperture control or flash button, the focus mode and the creative modes your camera offers, acquaint yourself with everything.
10 Tips to SELL Your Used Camera Gear FAST

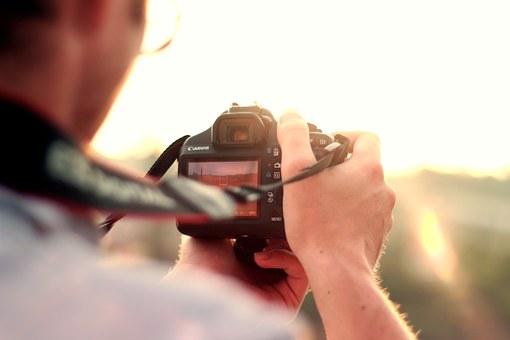
2. Master Your Technique
You can own the most expensive camera and it’ll still be useless if you don’t ace the techniques. Remember, technique comes with understanding: once you get through the first part, you can move to learning its behaviors and modifying your technique accordingly.
Photography is a lot more than pressing a shutter release. The background is as important as the picture itself. It can either enhance or distract your focus.
Another technique for skilled photography is light. So the art of light is important when dealing with good photography. Learn how your camera behaves in a variety of light situations. Have you noticed how the landscape shot differs during dawn or twilight?
Does your camera let you take better portraits or better landscapes? Does your camera come with an interchangeable lens, and when do you feel the need to change the focal length? Can you achieve your required depth of field in your DSLR?
Polishing your DSLR skills will come with mastering control over its functions. You must aim to remove camera auto settings, as you cannot learn if you keep depending on them to do most of your work.
3. The Dilemma of Shooting in RAW
If you are even a tad bit serious about your photography, your focus will be on image quality. As a photographer you will face the JPEG vs. RAW dilemma quite often. JPEG images are processed within the camera, while RAW images are uncompressed and unprocessed – making them of a higher quality. This leaves a lot of room to play in post-edit.
Step up your photography game and decide the image file for your photos depending on your situation and purpose. For post-processing adjustments, choose RAW. Shooting RAW is considered the standard as it causes no noticeable deterioration. JPEG is similar to an instant polaroid. For any immediate and lower quality purpose, you can choose JPEG.
Just know that shooting in RAW allows you to keep a lot of image details which helps you fix the exposure, colors, sharpness and a variety of other things in the image. If post-processing and editing interest you just as much as shooting does, RAW should be your best friend.
4. Here Comes the Tripod

You are lying there waiting for the sparrow to return to its nest and start feeding its young ones so you can get the perfect shot, but she flies in right when you rest your hands, and in the ensuing panic to position the camera correctly once again, the opportunity is gone.
It may be a fidgety subject, a spur-of-the-moment video shoot, or a long exposure shot (like busy night-time traffic) that will make investing into a good quality tripod, one of your most sensible buys even if carrying it seems a drag.
5. Factoring in ISO
International Organization of Standardization (ISO) refers to the level of sensitivity of your film to light. Increasing light sensitivity also means a faster shutter speed. ISO increments take place in doubles with every stop on a digital camera, implying that ISO 200 gives twice the light sensitivity of an ISO 100. But how does light sensitivity translate into our image?
Well, increasing ISO values result in an increasingly bright photograph, giving us room to capture images in dark environments. As the values go progressively higher, the image starts to turn grainy, compromising image quality and detail.
What does that tell us now?
ISO 100 (the lowest value) is good for photography in bright daylight or sunny environments; cloud cover would require us to go two or three times higher; while non-flash, low light photography would necessitate values as high as 1600 giving us a noisy image.
6. Getting Familiar with Autofocus
As the name implies, this one takes care of you, rather than the other way round. There are two primary autofocus modes: One-Shot or Single-Servo, and Al-Servo or Continuous.
One-shot mode is good for when you are shooting a stationary object; you can easily take a good sharp image of your unmoving subject this way. It is also good for low light photography. Al-Servo mode on the other hand, focuses well on a moving object like birds in flight or running children.
There is also the Autofocus Area Mode. While the autofocus modes determine where the lens shall focus, the area mode decides the camera’s target. You can choose a single autofocus point, or a cluster of them (that are visible through the viewfinder).
If your object of desire takes up a significant part of your screen and is maintaining a fairly stable position, you ought to choose a single focus, more specifically the one in the center as it is gives the most precision, resulting in a sharper image.
You can select this point by directing it at the center of your object of interest, then press on the shutter release halfway to activate and lock the focus.
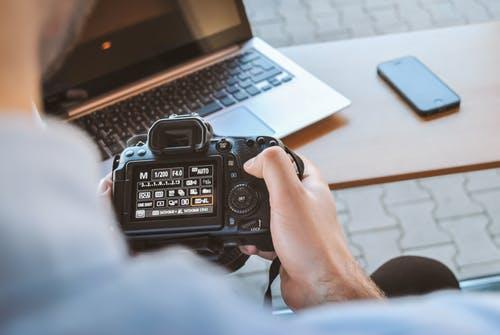
7. Metering it Right
When the camera determines the aperture and shutter speed, depending upon the light and ISO, it is known as metering. In days of old, the photographers would have to use a hand-held device to measure the amount and intensity of light, which the DSLR camera does on its own today.
If you switch to the manual mode of your camera, the bars visible to you have a scale beneath them, centered at zero in the middle of your view.
Bright light would make the bars on the positive side of the zero move towards the right side of the screen and vice versa. The automatic metering would fail when there is more than one light source or obstructions cause different intensities of light to be present, because a camera tries to average out the light intensity of the entire frame.
This default metering mode of your camera is the evaluative metering mode. The other two most common modes are center-weighted and spot metering modes. The center-weighted is desirable for headshots or portraits, whilst spot metering is good for zoning in on small objects of interest like a lone bird.
8. Aperture Priority and Shutter Priority
Aperture is the opening of your lens when taking a picture, and it controls the amount of light that gets into the camera. In the aperture priority mode, you control the aperture and the camera sets the shutter speed.
So if you wanted to capture an image close to you (in a shallow depth of field) in sharper focus (with the background blurred somewhat), you would choose a fast aperture (say f/1.4).
Shutter Priority mode lets you choose the shutter speed which in turn controls how motion is captured in the image. The camera decides the aperture for the best exposure.
In order to capture a frozen image of a high-speed object, like the bullet train, we would choose shutter speed in excess of 1/2000, but if we wanted some blur to our moving object, then we would experiment at slower speeds, depending on the speed of our object.
9. Know All the DIY Hacks and Tricks
You might think about getting expensive gear for your DSLR, but you really don’t have to break the bank. Want to add some level of interest in your photos? Explore some fun tricks to create interesting visuals just by learning DIY photography hacks.
A shiny new lens or a pricey softbox is not always necessary to get the perfect image. There are various inexpensive tricks that can get you some cool, fun photos. You can use tinfoil to make a reflector or use wooden panels to create neat backdrops. Using squirt bottles can create a rain effect.
10. Learn to Read the Histogram
A histogram is a graphical representation of the pixels exposed in your photograph. If you wish to make the most out of your DSLR and pursue photography seriously, learning to read the histogram can be of great help. The great thing is that many DSLRs now have histograms that react to scenes in real time.
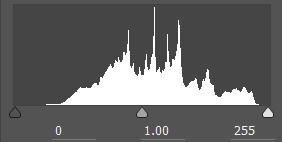
Imagine the histogram as a bar graph all squished together with no spaces between each bar. A histogram can help you judge the exposure of an image in most cases. If you know how to read it, you can avoid underexposure, overexposure, and loss of detail in your photograph.
As you work with these tips to perfecting your shot, you must also know that experimentation goes a long way – take multiple images (delete the useless ones after every session!), change your angle and perspective as you go (by changing your own position or the camera’s, etc.) and see what you can make of your results by tinkering with them using the trusty old Photoshop!
10 Tips to SELL Your Used Camera Gear FAST