The Complete Intro Guide to Real Estate Photography
In this guide, we break down the basics of real estate photography, including tips, pricing, and gear recommendations.
Usually seen as a business venture, real estate photography is a genre often suggested for photographers looking to make a living off of their skills. Like all photography, however, real estate photography is still an art form, and it requires practice, solid equipment, and a good eye for real estate to master.
This guide will help break down the basics of real estate photography, as well as provide some insight on how to get started, correct pricing, equipment needed, and tips for success.
- What is Real Estate Photography?
- Getting Started
- Tips and Tricks for Success
- Pricing: What to Expect
- Recommended Gear
- Drone Photography
- Recommended Resources
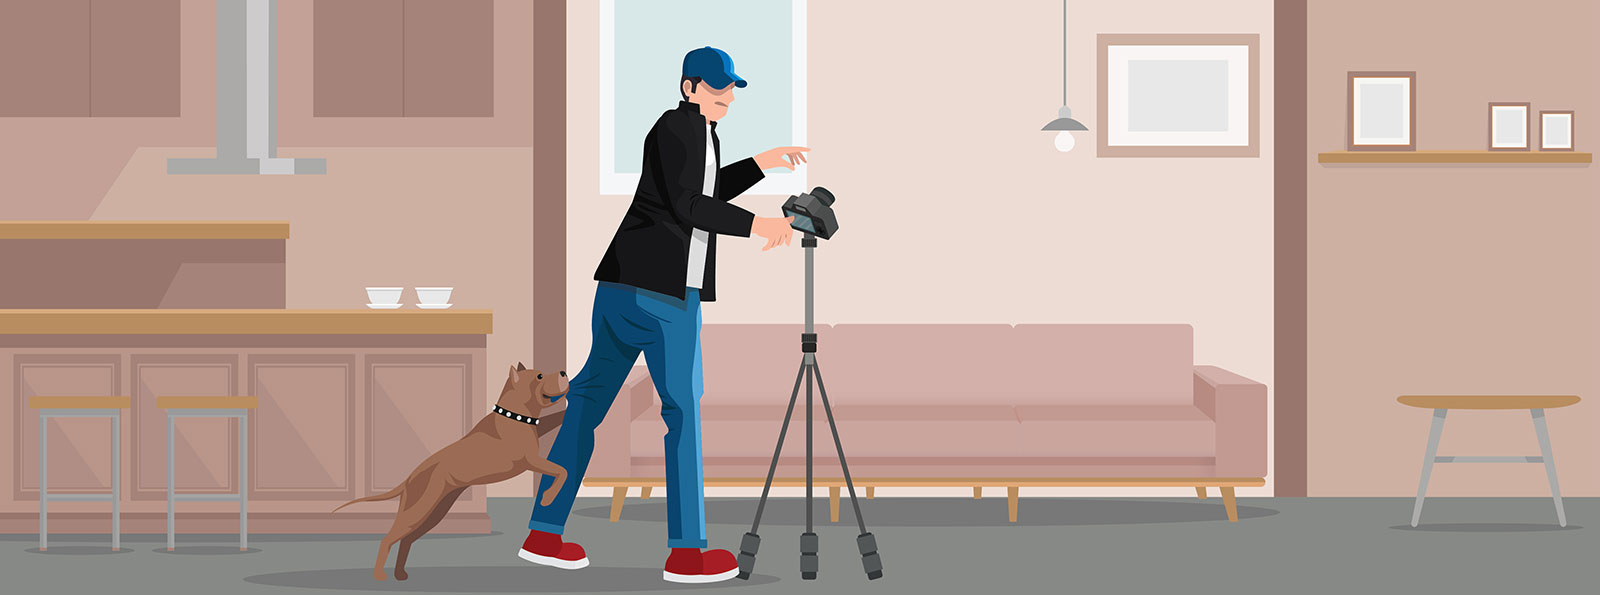
What is Real Estate Photography?
As one of the most suggested ways to make a business out of your photography skills, real estate photography is the genre surrounding the real estate industry in which photographers capture images of homes for sale, model homes for building companies, and even some interior design firms.
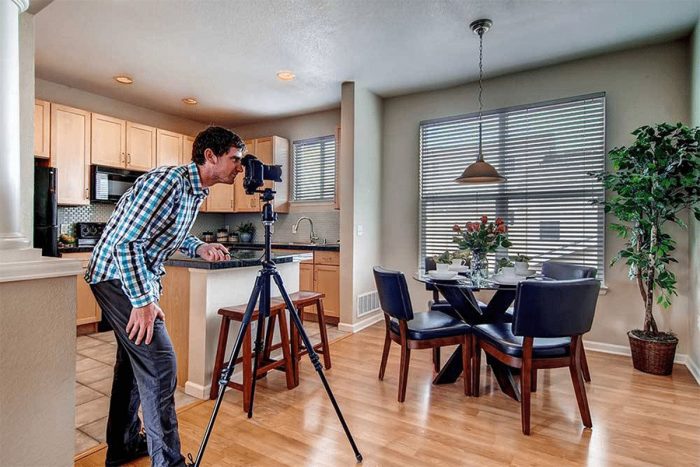
Image via Fit Small Business
Real estate photography, like all photography, is still an art form, but it is also an important aspect of the real estate industry. This type of photography can be seen as a sales job, just as much as an art. Real estate photography relies on your ability to capture the property while making it look desirable without misrepresenting it.
Real estate photography is a client-based genre, where a lot of your work will be done for a client and you’ll have to focus on getting their vision correct. It’s an important part to mastering real estate photography, as you want to utilize your creative assets like angles and composition, while also providing your client with pictures that represent their vision.
10 Tips to SELL Your Used Camera Gear FAST

How to Get Started
Like all types of photography, getting started in real estate photography can seem a bit daunting. Once you’ve made the decision to get into the business, there are a few beginning steps you can take to jumpstart your success.
Gathering the proper equipment is the first step to starting your journey into real estate photography. We’ll get to the details in a later section, but you’ll need to invest in a good tripod, wide-angle lenses, flash and lighting equipment, and good image editing software.
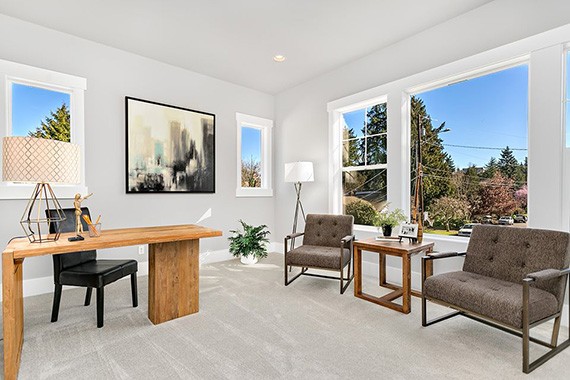
Image via PictureCorrect
Once you’re comfortable with your gear, it’s time to practice, practice, practice. Like other types of photography, the more you shoot real estate, the more comfortable and better you’ll be at it.
Since real estate photography is a bit different than standard portrait photography or action shots, you’ll have to get used to the shots needed, such as which angles work best, what lighting is needed to highlight the property, and what gear works best for each shot.
Building your portfolio will help you turn your beginner experience into a business. Clients will be looking for examples that showcase your style and eye for the craft. Luckily, there are several options to build your portfolio before you actually book clients. Try taking pictures of your own home, and reach out to friends and family to see who would be willing to let you practice on their property.
Start networking with real estate agents in your area, as well as any real estate photographers you may already know. The best way to build your business is to connect with people in the industry to see how you could meet their needs.
Tips for Success in Real Estate Photography

Image via Utah Real Estate Photography
Jumping into real estate photography can be a lot different if you’re used to other genres like portrait or commercial photography. Here a few tips for getting the most out of your pictures:
- Avoid only taking wide shots. While shooting wide will be important for a lot of your shots, you don’t want to take every shot at an extremely wide-angle. Mixing it up will help you capture the property accurately, so don’t be scared to zoom in a bit. Shooting too wide in every room can create an inaccurate representation of the space because it can create unrealistic ideas of space in the room.
- Move around. When starting out in real estate photography, your first instinct may be to camp in the corner to capture the whole room in each shot. Don’t be scared to move around and play with different perspective types. One point perspective may capture a room better than two-point in some situations, so do your best to move around and get as many different shots as possible.
- Focus on your composition. Understanding elements in your photos, and using them to create appealing compositions will help highlight the features of the property you’re photographing.
- Utilize different heights. A tripod will play a vital role in your photography, and adjusting the height can make a huge difference. Most tripods move vertically, just as they do horizontally, and by taking advantage of this you may be able to capture the room at a more flattering angle from a higher height.
- Lighting makes a huge difference. Bring your own lighting equipment, and utilize flash when needed. Lighting can make a big difference when representing a space, so be sure to work and get the best lighting for each room.
- Elevate your exterior shots. Height can make a difference for exterior shots, just like it does in each room. Elevating your shots can do wonders for capturing the exterior of the property. Check out DIY tricks if your tripod isn’t tall enough for what you want.
- Less is more when it comes to image editing. The most important part of real estate photography is representing the property accurately. Image editing software, like Photoshop, will help polish your photos, but be cautious when editing because you want the photos to look as close to reality as possible.
- Have a contract with your clients. This may seem like a no-brainer, but if you’re new to the game, it’s easy to overlook the business aspects when you’re excited for a gig. Be sure to agree on the details of the job with your client before the shoot, and have a contract signed before getting to work.
Pricing: What to Expect
Especially when you’re first starting out, pricing can range drastically for each job you do. Small jobs can be in the range from $100-$500, whereas bigger jobs may go up into the thousands.
Pricing is dependent on the real estate market in your area, as well as the price of the property you’re shooting, and the expectations of pictures from your client. Be sure to do enough research on your area when charging clients to ensure you’re getting paid properly for a job.
It’s a good idea to charge by the property size, not the hour, when shooting real estate. Another great idea is to offer different packages for your clients, which will allow them to choose a job that’ll fit their needs, and you’ll get paid accordingly. Consider charging more for extra services, like getting up early or staying late to get exterior shots during the twilight hours.
While pricing in the real estate photography industry can vary greatly depending on the job size and location, the most important thing is to be sure you’re getting paid and your clients feel like they’re getting a good value.
For reference, Fit Small Business’s Real Estate Photography Guide states the following for standard pricing in the California Bay area:
- Standard Shoot (Properties less than 3,000 square feet): $225
- Extended Shoot (Properties over 3,000 square feet): $325
- Estate Shoot (Properties over 6,000 square feet): $425
Recommended Gear
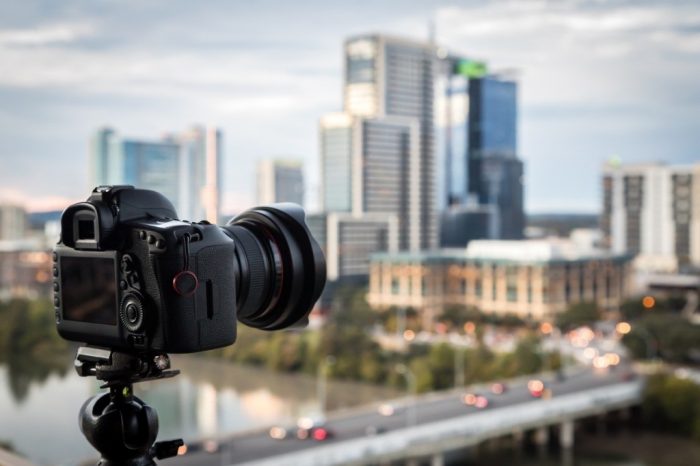
Image via Photography Talk
Having the right gear will help you make the most out of your real estate photography. Some of the gear may seem a bit pricey when you’re deciding what you need most, so be sure to check out the Grid50 Marketplace to look at used options. Here’s a list of what you may need:
- A good camera. This seems obvious, but there are a few features that may help you get ahead in this field. Any camera that has a flash mount, multiple lens options, and wireless connection for remote triggers will come in handy when shooting property. You’ll also want to pay attention to the ISO settings and color depth of the camera, as these can play a huge role in the outcome of your photos.
- Different lenses. You want to be as versatile as possible when approaching real estate photography, so it’s best to get comfortable with utilizing multiple lenses.
- Wide Angle Lens. This is a must-have for all real estate photography. Wide-angle shots are standard for the genre, so you’ll want to have a lens that can get these pictures. For full sensor, 14-24mm and 16-35mm are the most popular choices. For cropped sensors, you may opt for 10-22mm or 12-24mm for the best results.
- Mid-range zoom lens. Standard exterior shots utilize “normal” zoom lenses. For full sensors, check out 24-70mm or 24-105mm. For cropped sensors, you may like 18-55mm or 16-50mm.
- Tilt-shift lens. Avoid converging vertical lines that are commonly seen in walls and doors with a tilt-shift lens. A 24mm focal length is most common, and it will get the job done of making sure your lines stay vertical.
- Tripod. A tripod will be your best friend when doing real estate photography. Since portability and weight aren’t huge factors when looking at tripods for real estate photography (because you won’t have to worry about carrying it around for too long), it’s best to choose a durable, heavy tripod. Tripods are super helpful when getting higher shots, so you’ll want one that’s sturdy and will support your camera.
- Flash and lighting equipment. Flash diffusion and portable lighting will make a world of difference for your real estate pictures. As a real estate photographer, you’ll want to capture the property with a well-lit, bright, and clear view, so potential buyers get a good idea of everything. Investing in flash equipment, like a flash diffuser, remote flash, and flash mounts can help brighten up the dark spots in your photos.
- Lens filters. While it’s important to portray an accurate representation of the property you’re photographing, lens filters can help get the perfect shot with better color. You don’t need a ton of filters, but a few can go a long way.
- Camera pole. This is more useful if you plan to be focusing on a lot of exterior shots. A camera pole can help you reach new heights to capture the perfect angle of your subject.
- Basic editing software. Photoshop and Adobe Lightroom are great options for editng your pictures. Real estate photography relies on quality editing that doesn’t misrepresent the property, so you’ll want a good editing software to get the job done.
Real Estate Drone Photography
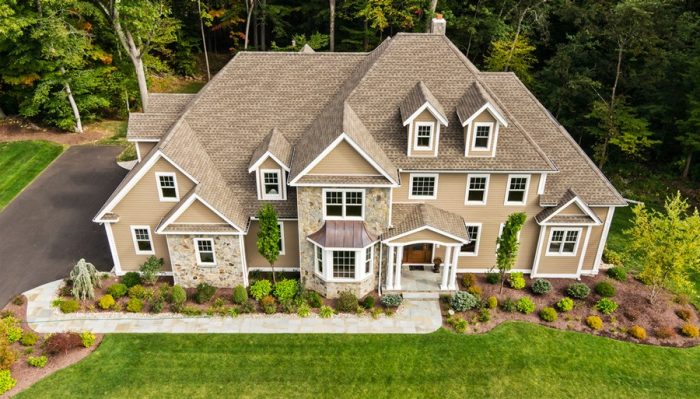
Image via Drones Globe
With drones becoming more popular and easily accessible, drone photography is beginning to be more prevalent in the real estate field. Drones can capture aerial views of the property, which gives potential buyers a good idea of the property before they even visit it.
While drone photography can be cool, it’s not entirely necessary to have a drone to be successful in real estate photography. If you do want to explore drone photography, be sure to look for a drone with RAW image capturing and auto-bracketing to get the most out of your photos.
Recommended Resources
Once you’ve read our article, do a bit more research with the following sources to become a successful real estate photographer:
- “Real Estate Photography Equipment Guide” – SLR Lounge
- “Real Estate Photography: A Beginner’s Guide” – Improve Photography
- “Real Estate Photography: A Guide to Getting Started” – Digital Photography School
Let’s Recap
Real estate photography is a great genre to get started in if you’re looking for a way to turn your photography into a business (or you’re super into photographing property). Becoming a successful real estate photographer takes practice, and it’s important to build your portfolio to attract clients.
Focusing on your angles, composition, and lighting will help you get the best shots when you’re taking pictures of the property. To achieve these shots, it’s important to have the right equipment, including wide-angle lenses, a tilt-shift lens, a tripod, and lighting gear. Do your research when it comes to pricing, and be sure to get paid for your work.
Be sure to network with other real estate photographers you may know. Be sure to follow our tips and tricks to become a successful real estate photographer, and if you have any tips for others, share them in the comments below!
10 Tips to SELL Your Used Camera Gear FAST